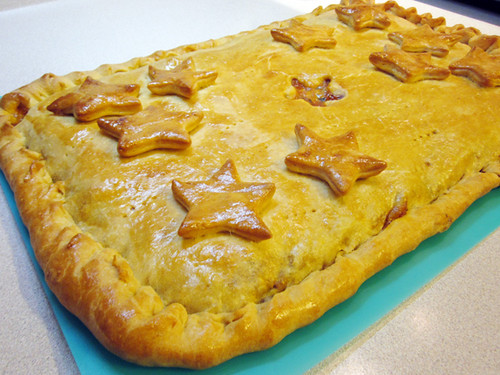
Daring Bakers, September: Empanada Gallega

Patri of the blog, Asi Son Los Cosas, was our September 2012 Daring Bakers’ hostess and she decided to tempt us with one of her family’s favorite recipes for Empanadas! We were given two dough recipes to choose from and encouraged to fill our Empanadas as creatively as we wished!
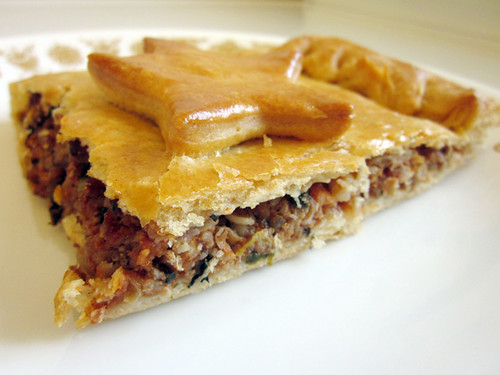
I filled my empanada with ground turkey and bulgur wheat with some Italian beans, spinach, and provolone cheese.
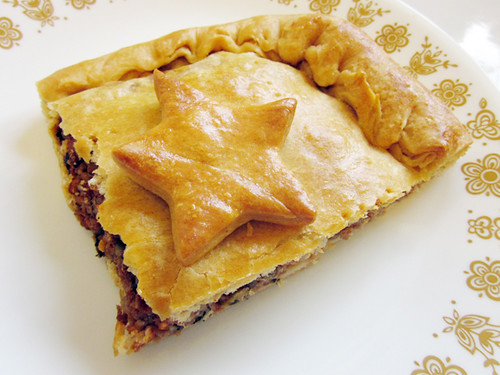
By the slice.
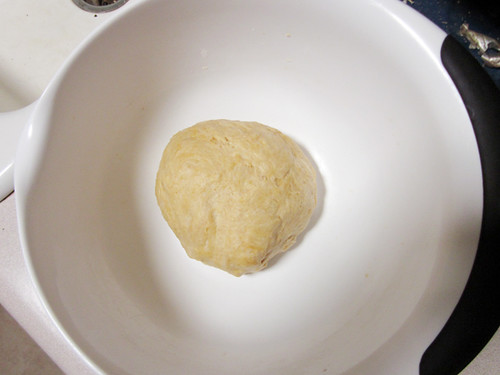
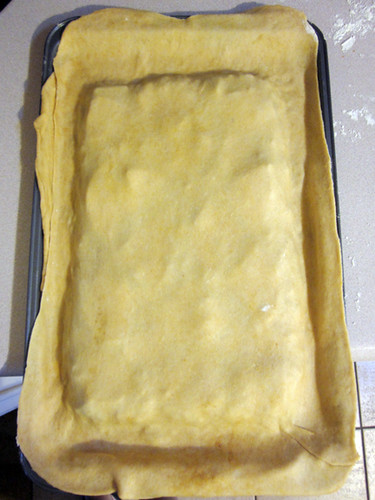
The dough before rising. The dough recipe was easy and awesome--it came together quickly and with very little effort, and was very responsive.
The dough mid-rise.

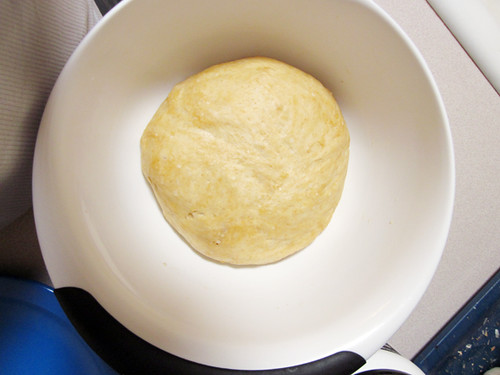
The dough fully doubled.
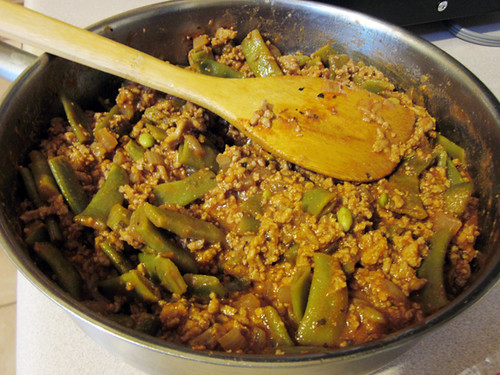
The filling cooked and "dried"--cooked until as much liquid as possible is cooked out because any liquid will make the bottom crust soggy.
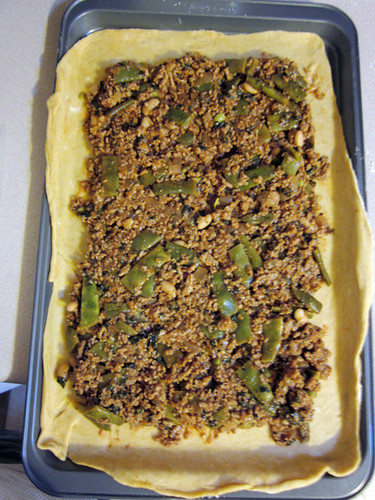
The bottom crust laid into the cookie sheet and filled with the cooled filling.
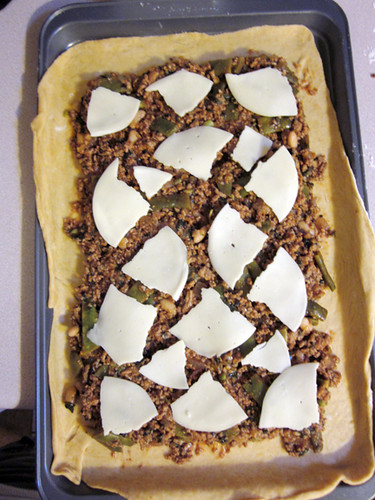
With cheese.
With the top crust laid on top.
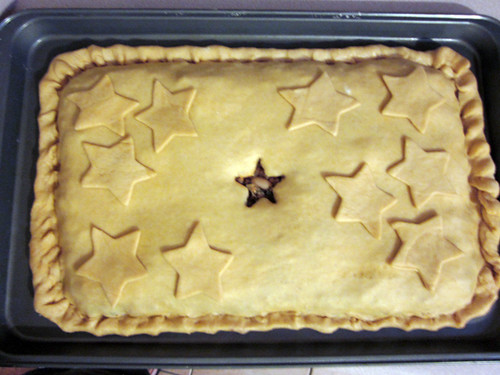
With the edges trimmed and crimped, the top decorated, and a vent punched in and the crust docked so steam can escape and not sog down or crack the top crust.
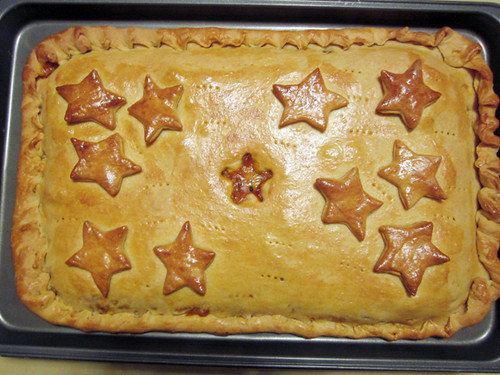
Glazed with a beaten egg and baked!
For me, a good balance between crust and filling is never more crust than filling--ideally, there's at least an equal amount if not more filling.
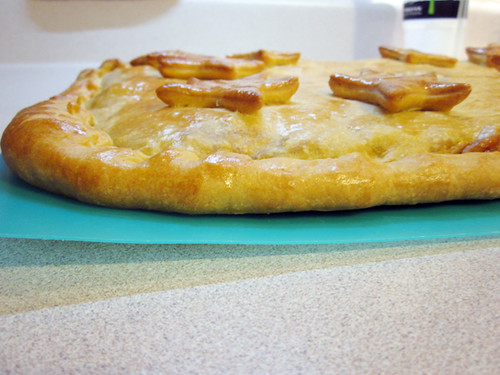
I'm so happy with how it turned out! The crust was so crisp and tasty, and the filling was delicious. The dough recipe is a keeper, and I'm looking forward to playing with other fillings. Check out what my fellow DBers baked by clicking through our blogroll.
And here's the dough recipe:
Empanada Dough
(a recipe using wheat flour from “La Empanada Gallega”)
Servings: 6
Ingredients:
3½ cups (500 gm) all-purpose (plain) or bread flour
1 cup (240 ml) warm water
½ cup less 1 tablespoon (100 ml) of liquid fat (oil, margarine, lard)
1 satchel (1 tablespoon) (15 gm) dry yeast or (1 oz) (30 gm) fresh yeast
1 teaspoon (5 ml) (6 gm) salt
1 teaspoon (3 gm) sweet paprika
Directions:
1.Shift the flour into a bowl, make a well in the middle and add all the ingredients (you should break the fresh yeast as much as possible).
2. Mix with a wooden spoon until all the ingredients have been incorporated
3. Turn dough onto your counter and knead for 8 minutes
4. Make a ball and allow to rise covered with a cloth for about half an hour before using.
Assembling the empanada:
1. If you haven’t used wax paper, either lightly flour or line with wax paper your pan or tray.
2. Cover the base and sides with the dough. Using the rolling pin or a knife, cut the extra dough.
3. Place the filling, making sure it is cold and that all the base is covered. Using a hot filling will make the bottom layer of the empanada become soggy. Be careful to avoid adding too much oil from the filling, try to make it as “dry” as possible.
4. Start preheating your oven to moderate 350°F/180ºC/gas mark 4.
5. Take the other half of the dough and spread it out to the same or less thinness of the base. You can use a piece of wax paper for this too. Take into account that this “top” dough needs to be smaller around than the bottom, as it only needs to cover the filling.
6. If not using wax paper, move carefully the top to cover the filling. If using wax paper, transfer the dough, turn upside down, cover the filling and gently peel off the wax paper.
7. Using your fingers, join bottom and top dough, when you have gone all the way around, start pinching top and bottom together with your thumb and index finger and turning them half way in, that way you end up with a rope-like border. As a picture is worth a thousand words, please watch this video to see how it is done: http://youtu.be/CNpB7HkTdDk
8. When you are finished, make a 1 inch hole in the middle of the top layer. This will help hot air exit the empanada while it’s baking without breaking the cover.
9. You can use left-over dough to decorate the empanada, using rounds, bows, lines… let your imagination flow and make it pretty!
10. Using a fork, prick the top layer or, using scissors, make snips that go all the way through the top layer.
11. In a small bowl, beat an egg and add a tbsp of cold water. With the pastry brush, paint the top of the empanada with the egg wash.
12. Place the empanada in the oven and bake for about 45 minutes. Check that the bottom part is done.


Comments
Congratulations on your challenge!
Your empanada looks beautiful !!
Great going !!
Cheers !!