Daring Bakers, March: Yeasted Meringue Coffee Cake

The March 2011 Daring Baker’s Challenge was hosted by Ria of Ria’s Collection and Jamie of Life’s a Feast. Ria and Jamie challenged The Daring Bakers to bake a yeasted Meringue Coffee Cake.
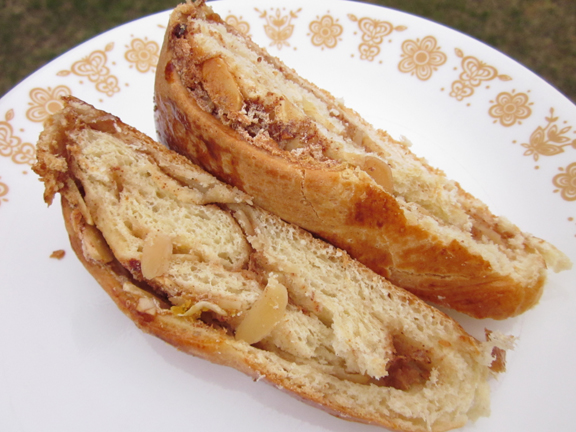
We were allowed to choose our fillings, and I chose slivered almonds, cinnamon, and sugar and called it "candied almond coffee cake." It was pretty tasty, and I'd love to experiment more with this recipe, especially with savory fillings. I successfully halved the recipe without any problems, and as other bakers noted, this dough was awesome to work with.
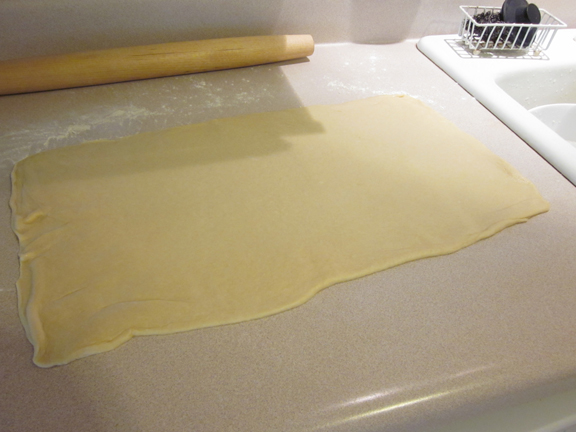
The dough rolled out into a triangle. The dough was beautifully supple and so easy to work with.

The meringue spread onto the dough. I was glad I had extra meringue--I'd halved the recipe, which called for 3 egg whites for the meringues; I used 2 egg whites (since those buggers are a bit hard to halve). I pretty much just whipped it stiff, dumped it onto the dough, then spread it out as if I were icing a cake, working from the middle out.
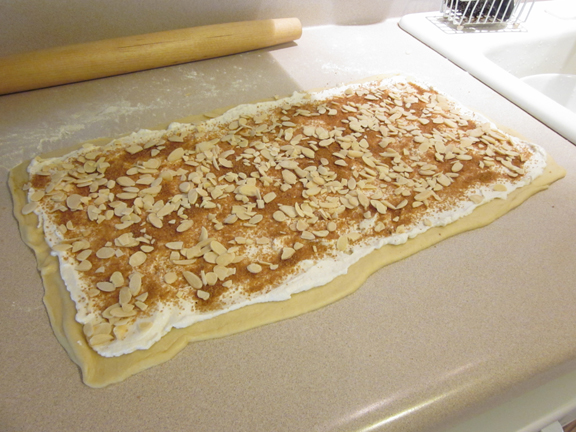
Sprinkled on the turbinado sugar and cinnamon mixture, then the slivered almonds on top of that.
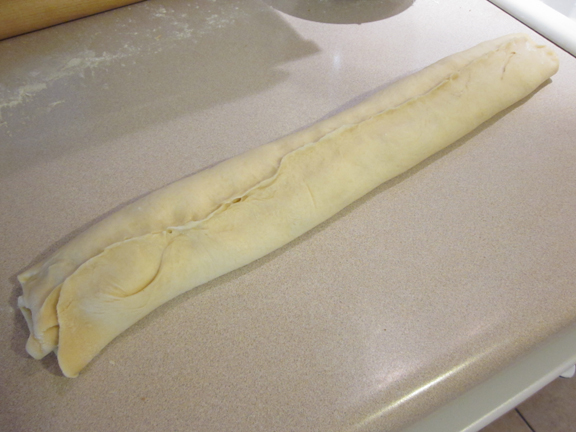
Rolled it up and pinched it shut. Sounds kinky, doesn't it? It kinda is. I need to bake less and hang out with my boyfriend more, maybe . . .
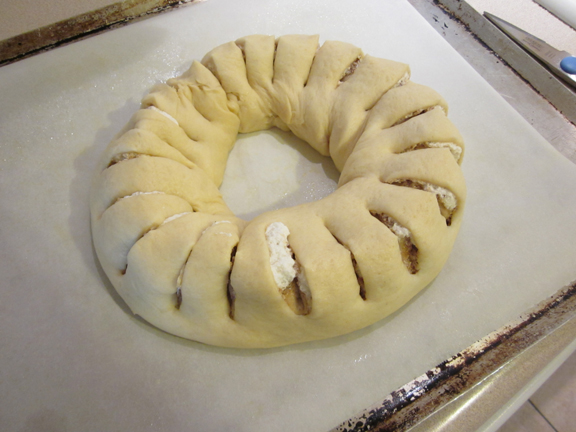
Rolled and slashed!
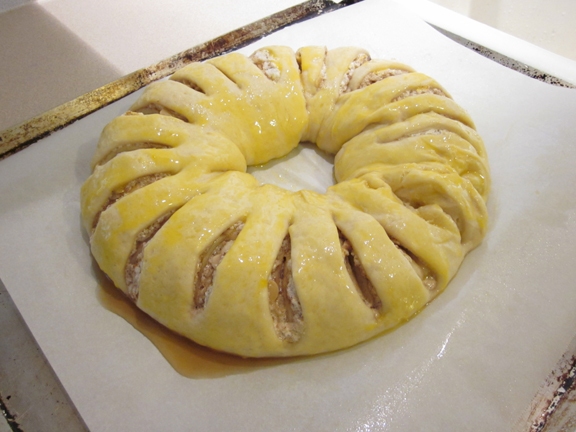
Risen and coated with egg yolk wash (what else was I going to do with them after using the whites for the meringue?).

Okay, certainly not as pretty as I'd hoped, but it still looked strangely tasty, at least in person. You had to be there.
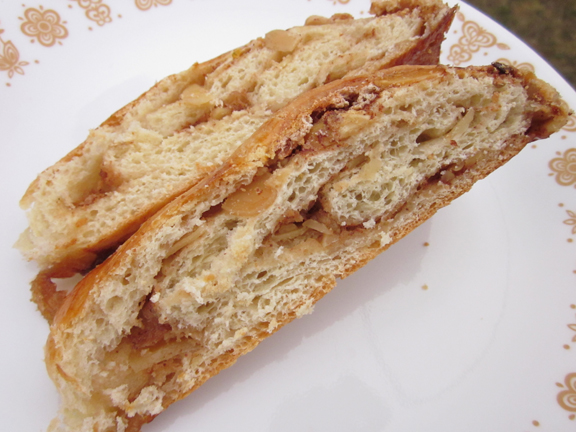
Mmmm, here's a much more appetizing shot, I hope. Note the big air bubbles throughout the crumb (the cake's innards). That's goodness. The only thing I would've changed would've been to let the dough rise again before punching it down, and adding more sugar and cinnamon.
Notes:
*Although the recipe instructs you to use a hand mixer, I found that the wet dough traveled up the beaters, and I kept having to push the dough back down as if I were working clay on a spinning pottery wheel. Of course, I was a little terrified of getting a finger caught in a spinning beater and breaking it off, but I was too stubborn to keep stopping the mixer and scraping the dough off. Next time, I'll just use my stand mixer or else just go at it with a wooden spoon until it's come together enough to work by hand.
*The dough was super wet at first, but the more I worked it, the more the dough sucked up the water. Don't despair--just keep kneading because the more flour you add, the higher the risk that your cake will be a bit on the dry side. It won't be bad, it just won't stay as moist as long as it could.
*The recipe says to spread the meringue to a half inch of the sides all the way around, but I recommend leaving at least an inch-wide margin on what will be the outside edge--the long edge that you roll toward that will be the outside edge once you've rolled the dough up. This way, all the meringue won't squoosh out and make a big mess when you roll to the end and have to pinch it together.
*Roll tightly, but not so tightly that you squeeze all the filling down as you roll as if it were a tube of toothpaste. Also, make note that wetter fillings, like curds and jams, will shrink up as the cake bakes, and you'll likely have a gap in your bread from where the filling came away from the dough as it lost moisture (I guess into the dough and because of the oven's heat).
*It was a little hard for me to gauge when the cake was done because the top-most part of the dome browned up pretty quickly, but I wanted the entire top to brown. When it did, I took it out, and the cake was done perfectly.
*I followed the wise of advice of the ever-helpful Audax Artifax, and one of the many smart pieces of advice he had was to put nonstick spray on the parchment paper before putting the cake on it so it wouldn't stick when you tried to remove the finished cake.
Check out our Daring Bakers blogroll for more delicious version of the yeasted meringue coffee cake!


Comments
Cheers from Audax in Sydney Australia.
Oh and I'm completely jealous of your counter space!